
You are new to windows 7, Windows 7 does not include an e-mail client such as the popular Outlook Express application used by millions in Windows XP. Many users of Windows 7, therefore, opt for the free Windows Live Mail for their e-mail needs. Learn how to add a POP e-mail account to Windows Live Mail in Windows 7.
POP3 E-mail Accounts
An abbreviation for Post Office Protocol, POP is a simple to use e-mail standard adopted by many ISPs, universities, and other commercial, public, and private organizations. Before you can use a POP e-mail account with Windows Live Mail, you have to configure the application to both send and receive your e-mail messages.
To add a POP e-mail account to Windows Live Mail, you need five pieces of information:
- Your e-mail address
- Your e-mail address username
- Your e-mail address password
- The incoming e-mail server address
- The outgoing e-mail server address
Your ISP or e-mail company provides all of this information to you. Before you continue, make sure you have this information.
Adding a POP E-mail to Windows Live Mail
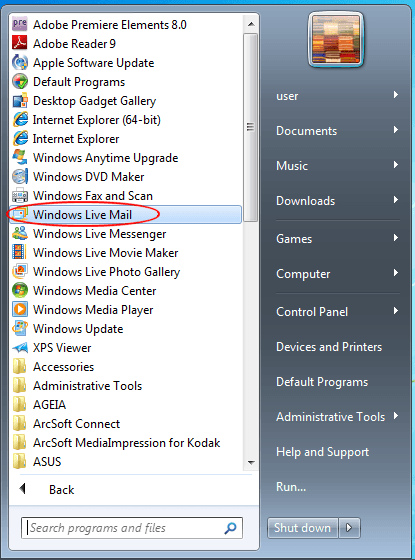
Open up Windows Live Mail by clicking on Start>All Programs>Windows Live Mail.
Click on the Accounts tab and then click on the Email button.

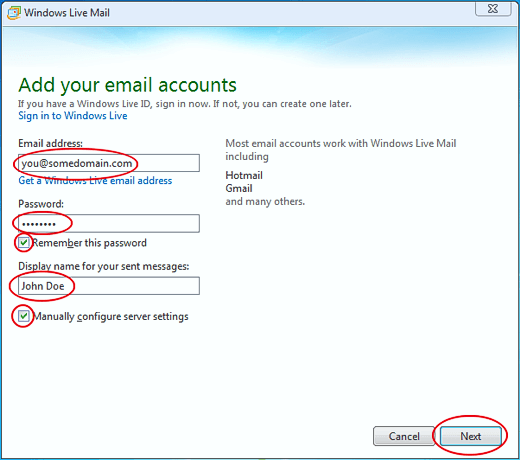
You should now be looking at the Add Your Email Accounts window. In the Email Address box, type in your e-mail. Your e-mail address should be in the form:
you@somedomain.com
In the Password box, type in your password. Again, your e-mail company should have provided this to you or you can use the password you chose when you signed up for an e-mail account. It is up to you whether to leave the option labeledRemember this Password checked. If you uncheck this box, you will have to type in your password each time you use your e-mail.
Finally, type your name in the box labeled Display Name for Your Sent Messages. This is the name people see when you send them an e-mail. Next, check the box labeled Manually Configure Server Settings and click the Next button.
In the Configure Server Settings window, note that there are two server addresses you must provide. Leave the Server Type box set to POP and type in the Incoming Server Address provided to you by your e-mail provider. It should look something like:
pop.isp.com
In the Outgoing Server Address box, type in the Simple Mail Transfer Protocol (SMTP) address provided to you by your e-mail provider. It should look something like:
smtp.isp.com
Typically, you will not have to change the ports for either the incoming or outgoing server. If you are unsure, check with your e-mail provider. Also, most e-mail providers do not require an SSL Secure Connection so you can leave that option unchecked for now.
In the Logon User Name box, type in the username associated with your e-mail. Many e-mail providers simply use your e-mail address as your username. If you are unsure, try your e-mail address. If it doesn’t work, contact your e-mail provider to find out the username associated with your e-mail account. When finished filling out this information, click the Next button.

If you did everything correctly, you should see a window telling you that your new POP e-mail address has been added to Windows Live Mail. The first thing you should do is check to see that the e-mail address is working correctly.
Send an e-mail to yourself to test both the incoming (POP) address and the outgoing (SMTP) address. If you run into any problems connecting to either server, contact your e-mail provider for help.
Hey
ReplyDeleteThanks for this. I use CodeTwo Outlook Autoconfig - it automatically configures email accounts in Outlook, Outlook Express, Windows Mail and Windows Live Mail.
It's a free tool from CodeTwo..
http://www.codetwo.com/freeware/outlook-autoconfig/
Good Information :)
ReplyDelete